Install CodeLobster IDE
CodeLobster is a cross-platform IDE that compatible with Windows, macOS, and Linux operating systems.
Minimal system requirements
Operating system:
The following platforms are officially supported:
-
Microsoft Windows 7 SP1 or later.
-
macOS - 10.13 High Sierra or later.
-
Ubuntu 14.04 x64 or later.
Hardware Requirements
-
290 Mb of free disk space.
-
1 GB RAM.
-
1024 x 768 minimum screen resolution.
Differences between Free and Professional
CodeLobster IDE supports the following features:
Feature | Free Version | Professional version |
|---|---|---|
HTML editor |
✓ |
✓ |
HTML code inspector |
✓ |
✓ |
CSS editor |
✓ |
✓ |
JavaScript editor |
✓ |
✓ |
PHP editor |
✓ |
✓ |
PHP debugger |
✓ |
✓ |
|
Advanced features |
Free Version |
Professional version |
FTP/SFTP support | — |
✓ |
SQL manager | — |
✓ |
Version Control Systems | — |
✓ |
Code validator | — |
✓ |
Code snippets | — |
✓ |
|
Code formatting | — |
✓ |
SASS and LESS | — |
✓ |
Node.js support | — |
✓ |
Other: sorting, converting | — |
✓ |
|
Split Window, Compare |
— |
✓ |
|
Additional plug-ins |
Free Version |
Professional version |
|
| — |
✓ |
|
| — |
✓ |
|
| — |
✓ |
|
| — |
✓ |
|
| — |
✓ |
|
| — |
✓ |
|
| — |
✓ |
|
| — |
✓ |
|
|
— |
✓ |
|
| — |
✓ |
|
| — |
✓ |
|
| — |
✓ |
|
| — |
✓ |
|
| — |
✓ |
|
| — |
✓ |
|
|
— |
✓ |
|
| — |
✓ |
|
| — |
✓ |
|
| — |
✓ |
Step-by-step installation
To start with CodeLobster IDE:
-
Download the installer from the Downloads page with Windows, MacOS and Linux install packages.
-
Run the installer and follow the wizard steps.
Step 1
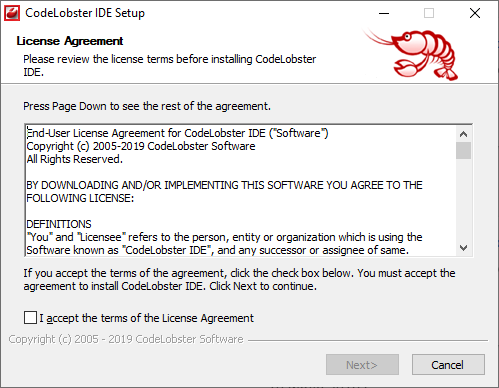
Read the Agreement carefully. If you accept the license terms, check the I accept the terms of the License Agreement box. You must accept the License Agreement to continue the installation.
Step 2
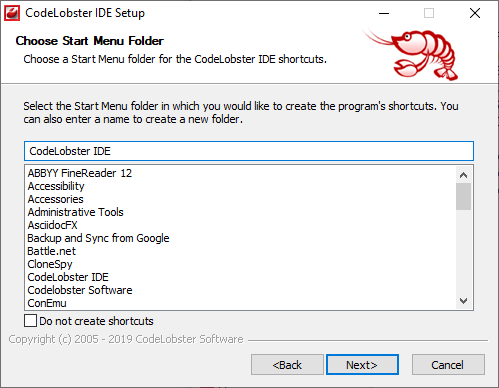
Select a Start Menu folder for the CodeLobster IDE shortcuts.
Step 3
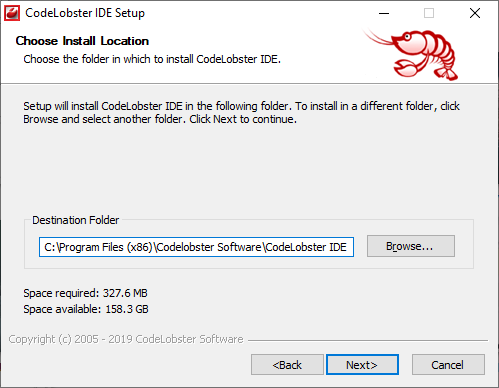
Define the folder in which to install the CodeLobster IDE.
Step 4
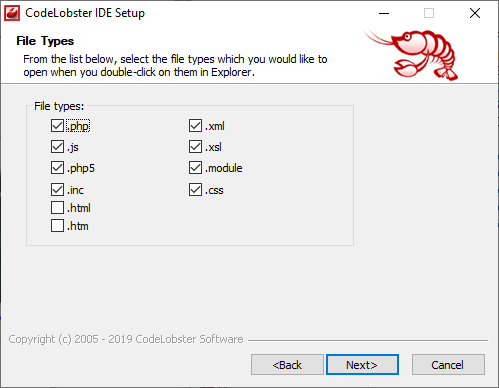
Select the file types which you would like to open when you double-click on them in Explorer.
Step 5
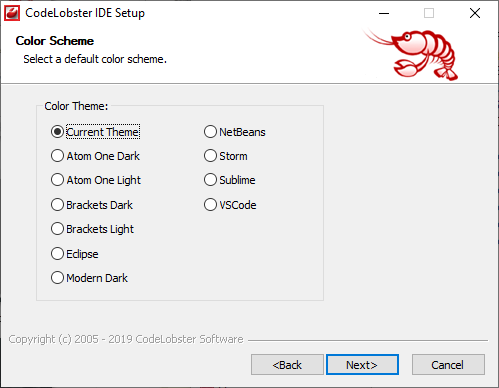
Select a default color scheme, which defines the colors and fonts to format various text resources: the source code, search results, and so on.
Step 6
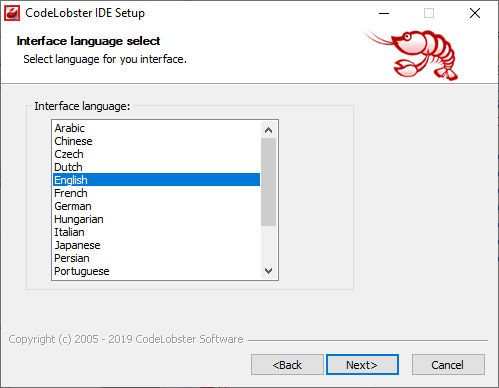
Select the language for your interface.
Step 7
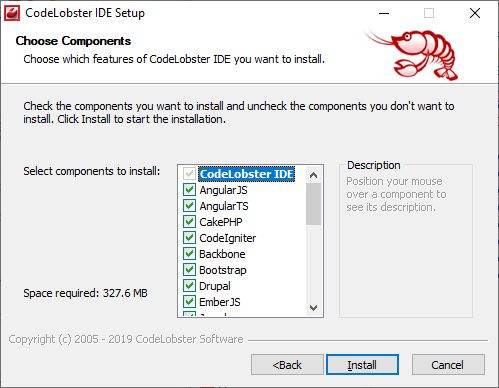
Check the components you want to install and uncheck the components you don't want to install. Click the button to start the installation.
Step 8
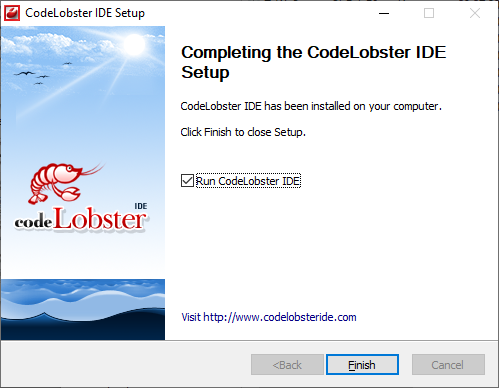
After CodeLobster IDE has been installed on your computer, you can check the Run CodeLobster IDE option to start it after setup.
Update CodeLobster IDE
By default, CodeLobster IDE automatically checks and notify you when a new version is available. You can see release notes on CodeLobster IDE news page: http://www.codelobster.com/news.html
Uninstall CodeLobster IDE
The proper way to remove CodeLobster IDE depends on the method you used to install it.
![[Note]](images/admon/note.png) | Note |
|---|---|
This guide describes ways to uninstall CodeLobster IDE on Windows. |
To uninstall CodeLobster IDE:
-
Close all CodeLobster IDE applications.
-
Run Start → Settings → Control Panel → Add/Remove Programs.
-
Find CodeLobster in the list of installed programs, select it, and click .
![[Caution]](images/admon/caution.png) | Caution |
|---|---|
|
Uninstall operation completely removes CodeLobster IDE from your system, including customization settings. |